Advanced Hair Masking with Channels in Photoshop Video
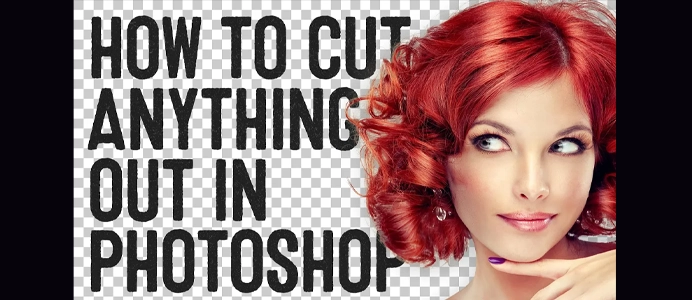
Advanced Hair Masking with Channels in Photoshop Video. Creating an advanced hair mask using channels in Photoshop allows for precise selection and separation of hair from the background. Here’s a step-by-step guide:
1: Open Your Image
- Open Photoshop:
- Launch Adobe Photoshop and open the image you want to work on.
2: Duplicate the Background Layer
- Duplicate the Background:
- Right-click on the Background layer in the Layers panel and choose “Duplicate Layer.” Click OK.
3: Access the Channels Panel
- Open Channels Panel:
- Go to
Window > Channelsto open the Channels panel.
- Go to
4: Identify the Channel with Maximum Contrast
- Review Channels:
- Look at each channel (Red, Green, Blue) individually to identify the one with the highest contrast between the hair and the background.
- Duplicate the Best Channel:
- Duplicate the channel by dragging it to the “New Channel” icon at the bottom of the Channels panel.
5: Enhance Contrast (Optional)
- Enhance Contrast:
- Use Levels (Ctrl/Cmd + L) on the duplicated channel to adjust the contrast. Drag the black and white sliders to enhance the contrast.
6: Create a Selection
- Load Channel as a Selection:
- Hold down Ctrl/Cmd and click on the duplicated channel’s thumbnail to load it as a selection.
7: Refine the Selection
- Refine Edges:
- Go to
Select > Modify > Featherto feather the edges slightly for a more natural look.
- Go to
- Apply the Selection:
- With the selection active, go back to the Layers panel and click on the original duplicated layer.
- Add Layer Mask:
- Click on the “Add Layer Mask” icon at the bottom of the Layers panel to create a mask based on the selection.
8: Fine-Tune the Mask
- Refine Mask Edges:
- Use the Brush Tool (B) with a soft brush to refine the mask edges. Paint with black to remove unwanted areas and white to bring back missing hair strands.
9: Check for Realism
- Check Against a New Background:
- Place your subject against a different background to check the realism of the hair mask. Make additional adjustments as needed.
10: Save and Export
- Save Your Work:
- Save your Photoshop document with layers intact (PSD) for future edits.
- Export the Final Image:
- When satisfied, export the final image with the hair mask as needed (e.g., JPEG, PNG).
Tips:
- Use Refine Edge (Select and Mask):
- For even more advanced hair masking, use the “Select and Mask” feature in newer versions of Photoshop. It provides additional tools for refining edges.
- Experiment with Different Channels:
- Try duplicating and adjusting multiple channels to find the best contrast for your specific image.
- Zoom In for Precision:
- Zoom in while refining the mask to ensure precise adjustments.
Creating an advanced hair mask requires patience and attention to detail. Practice and experimentation will help you achieve the best results based on the characteristics of the specific hair in your image.


