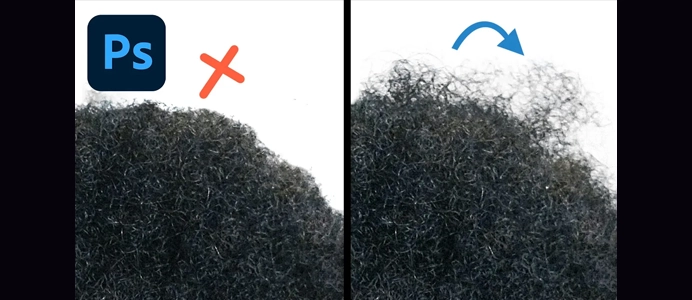
Inverse Curve Technique for Painting Light In Photoshop Video
Written by: Jules Mercado (Mixtapepsds)
The inverse curve technique is a method used in Photoshop for painting light to enhance highlights and bring attention to specific areas of an image. This technique involves using a curves adjustment layer to control the highlights selectively. Here’s a step-by-step guide:
1: Open Your Image
- Open Photoshop:
- Launch Adobe Photoshop and open the image you want to work on.
2: Add a Curves Adjustment Layer
- Curves Adjustment Layer:
- Go to the Layers panel and click on the “New Adjustment Layer” icon. Choose “Curves” from the menu.
- Inverse the Curve:
- In the Curves Properties panel, create an inverse S-curve. Click on the diagonal line and add two points. Drag the point in the middle downward and the points on the sides upward. This increases the contrast in the highlights.
3: Masking
- Apply a Layer Mask:
- With the Curves adjustment layer selected, click on the layer mask icon at the bottom of the Layers panel. This adds a layer mask to the curves adjustment.
- Fill Layer Mask with Black:
- Press
Ctrl + I(Windows) orCommand + I(Mac) to invert the layer mask, making it black. This effectively hides the impact of the curves adjustment.
- Press
4: Paint with White
- Select Brush Tool:
- Select the Brush Tool (B) from the toolbar.
- Set Foreground Color to White:
- Ensure that your foreground color is set to white.
- Adjust Brush Settings:
- Adjust the brush settings, including size, hardness, and opacity, based on the areas you want to highlight. A soft-edged brush is often used for a gradual transition.
- Paint on the Layer Mask:
- Begin painting on the layer mask over the areas where you want to enhance the highlights. The white brush reveals the effect of the curves adjustment selectively.
5: Fine-Tune and Experiment
- Opacity Adjustment:
- Adjust the opacity of the Curves adjustment layer to control the overall intensity of the effect.
- Refine Edges:
- Use a soft brush with lower opacity to refine the transition between the highlighted and non-highlighted areas. This helps create a more natural look.
6: Evaluate and Save
- Evaluate the Result:
- Zoom out and evaluate the overall impact of the painted light on your image.
- Save Your Work:
- Save your Photoshop document with layers intact (PSD) for future edits.
Tips:
- Experiment with Blend Modes:
- Try changing the blend mode of the Curves adjustment layer to Screen or Overlay for different effects.
- Adjust Color Channels:
- If you want to enhance specific color highlights, use individual color channels within the Curves adjustment.
- Use Multiple Adjustments:
- Combine the inverse curve technique with other adjustment layers for a more comprehensive enhancement.
The inverse curve technique is a versatile method for selectively painting light in Photoshop, providing control over highlights and adding a dynamic touch to your images.
ChatGPT can make mistakes. Consider checking important information.


