How to Blend Images and Composites with Photoshop Video
10-Step GUIDE: How to Blend Images and Composites with Photoshop Video
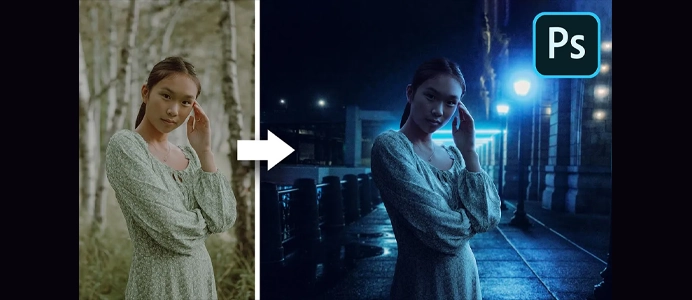
Creating composite images by blending different photos in Photoshop involves several steps to ensure a seamless and realistic result. Here’s a 10-step guide to blending images and creating composites:
1: Collect Your Images
- Gather High-Quality Images:
- Choose images with consistent lighting, perspective, and color tones. Ensure that the elements you want to blend together will work cohesively.
2: Set Up Your Photoshop Document
- Open Photoshop:
- Launch Adobe Photoshop and create a new document with dimensions suitable for your composite.
3: Arrange Layers
- Import Images:
- Open and arrange the images as layers in your Photoshop document. Use
File > Placeor drag-and-drop to add images.
- Open and arrange the images as layers in your Photoshop document. Use
4: Align Images
- Align Layers:
- Select all layers, go to
Edit > Auto-Align Layersto ensure proper alignment, especially if you’re working with multiple images.
- Select all layers, go to
5: Add Layer Masks
- Add Layer Masks:
- Add layer masks to each image layer. Use the Brush Tool with a soft edge to mask out areas you don’t need or to blend elements together.
6: Adjust Colors and Tones
- Match Colors and Tones:
- Use adjustment layers like Curves, Levels, and Hue/Saturation to match the colors and tones of the different elements. This helps create a cohesive look.
7: Blend with Blending Modes
- Experiment with Blending Modes:
- Change the blending modes of individual layers. Modes like Overlay, Multiply, and Screen can affect how layers interact and blend together.
8: Add Shadows and Highlights
- Create Realistic Shadows:
- Add shadows beneath objects for realism. Use a new layer set to Multiply, and paint shadows with a soft brush.
9: Refine and Detail
- Refine Edges and Details:
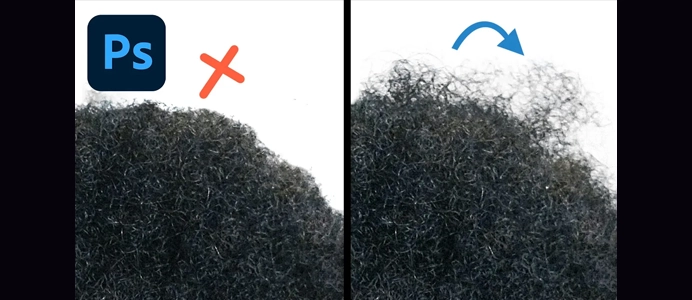
- Zoom in and refine edges using layer masks. Pay attention to details, ensuring a seamless integration of elements.
10: Final Adjustments and Export
- Final Adjustments:
- Make final adjustments, such as sharpening, color grading, and overall enhancements.
- Save and Export:
- Save your Photoshop document (.PSD) for future edits and export the final composite in your desired format (JPEG, PNG, etc.).
Additional Tips:
- Use Smart Objects:
- Convert layers to Smart Objects for non-destructive editing. This allows you to go back and make adjustments later.
- Experiment with Filters:
- Apply filters and effects to individual layers or the entire composition for creative enhancements.
- Consider Lighting:
- Pay attention to the direction and intensity of light in each image. Adjust shadows and highlights accordingly.
- Add Depth with Blur:
- Use the Gaussian Blur filter to add depth by blurring background elements slightly.
- Refine with Brushes:
- Use various brushes, such as the Mixer Brush or Clone Stamp, to refine details and blend elements seamlessly.
Creating composite images is a skill that improves with practice. Experiment with different images, blending techniques, and styles to develop your own unique approach to compositing in Photoshop.


