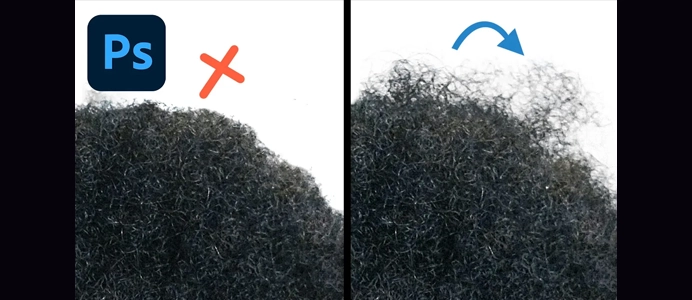
Easy way to draw Highlights in photoshop
Drawing highlights in Photoshop involves enhancing specific areas of an image to create a sense of brightness and dimension. Here’s a step-by-step guide on how to draw highlights using Photoshop:
1. Open Image:
- Launch Photoshop and open the image you want to work on.
2. Create a New Layer:
- Create a new layer above the image layer where you want to add highlights.
3. Select Brush Tool (B):
- Choose the Brush tool from the toolbar.
4. Adjust Brush Settings:
- Set the brush size, hardness, and opacity based on your preferences and the size of the highlights you want to create. A soft-edged brush is often suitable for smooth transitions.
5. Choose Highlight Color:
- Select a color for your highlights. Typically, highlights are a lighter or warmer version of the base color.
6. Paint Highlights:
- With the new layer selected, paint over the areas where you want to add highlights. Focus on the areas where light would naturally hit, such as edges and surfaces facing the light source.
7. Adjust Opacity:
- If the highlights appear too intense, adjust the opacity of the highlight layer to make it more subtle. You can find the opacity setting in the Layers panel.
8. Blend Mode:
- Experiment with different blend modes for the highlight layer. Overlay, Soft Light, and Screen are common choices. Blend modes can affect how the highlights interact with the underlying image.
9. Eraser Tool (E):
- If needed, use the Eraser tool to refine the edges or remove parts of the highlights. This helps in blending them seamlessly into the image.
10. Layer Masks:
- Add a layer mask to the highlight layer if you want to control where the highlights appear more precisely. Use a black brush on the layer mask to hide parts of the highlights.
11. Adjustment Layers:
- Consider using adjustment layers to fine-tune the highlights. For example, you can add a Levels or Curves adjustment layer to control the brightness and contrast.
12. Dodge Tool:
- The Dodge tool is another option for adding highlights. Select the Dodge tool from the toolbar, choose a suitable brush, and paint over the areas you want to lighten. Adjust the exposure setting for more control.
13. Save and Export:
- Once you’re satisfied with the highlights, save your work and export the image in your desired format.
14. Experiment with Layer Styles:
- Layer styles such as Inner Glow or Outer Glow can also be used to create highlights. Experiment with these styles to achieve different effects.
15. Review and Refine:
- Zoom in and carefully review your highlights. Make any necessary adjustments to ensure a natural and realistic look.
By following these steps, you can draw highlights in Photoshop to enhance specific areas of your image and add a sense of depth and dimension.


