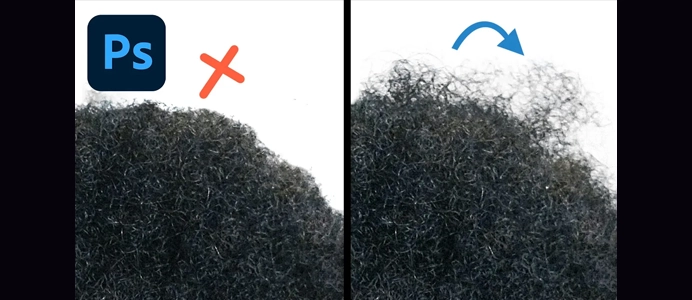
How to Export HIGH QUALITY Images for Social Media
Exporting high-quality images in Photoshop involves choosing the appropriate settings to maintain the resolution, color accuracy, and overall image quality. Here’s a step-by-step guide on how to export high-quality images:
1: Finalize Your Image
- Make Adjustments:
- Ensure that you have made all necessary adjustments to your image, including color correction, retouching, and any other enhancements.
- Crop if Needed:
- If your image requires cropping, do it before exporting to avoid loss of resolution.
2: Choose the Right File Format
- Go to File > Export > Export As:
- In recent versions of Photoshop, you can use the “Export As” option to save your image.
- Select the Appropriate Format:
- Choose the file format based on your needs:
- For photographs: JPEG is suitable for high-quality images with compression.
- For images with transparency: PNG is recommended.
- For lossless compression: TIFF is a suitable option.
- Choose the file format based on your needs:
3: Adjust Quality Settings
- Set Quality (For JPEG):
- If you’re exporting as JPEG, adjust the quality slider to achieve the desired balance between file size and image quality. Higher quality settings result in larger file sizes.
- Choose Other Settings:
- Pay attention to additional settings, such as color space (usually sRGB for web and Adobe RGB or ProPhoto RGB for print), and bit depth.
4: Resize (Optional)
- Resize if Necessary:
- If you need to export the image at a specific size, enter the desired dimensions in the width and height fields. Ensure that “Constrain Proportions” is checked to maintain the aspect ratio.
5: Save Location
- Choose Save Location:
- Specify the folder where you want to save your high-quality image.
- Name Your File:
- Enter a suitable name for your image.
- Click “Export” or “Save:
- Click the “Export” or “Save” button to save your high-quality image with the chosen settings.
Tips:
- Use Presets:
- Photoshop provides export presets for various purposes. You can choose a preset that aligns with your intended use (e.g., web, print).
- Save a Copy for Editing:
- If you want to retain layers and editing capabilities, consider saving a copy of your file in the Photoshop (PSD) format.
- Check Compression Settings:
- When exporting as JPEG, be mindful of compression settings. Higher compression ratios result in smaller file sizes but may compromise image quality.
- Embed ICC Profile:
- When exporting for print or professional use, make sure to embed the ICC profile to maintain color accuracy.
- Consider Resolution:
- For print, ensure that the resolution is set to at least 300 pixels per inch (ppi) to achieve high print quality.
By following these steps and adjusting settings based on your specific needs, you can export high-quality images from Photoshop that are suitable for various purposes, whether it be web publishing, social media, or professional printing.


