I Made a CRAZY Moon Knight Art | Photoshop Manipulation
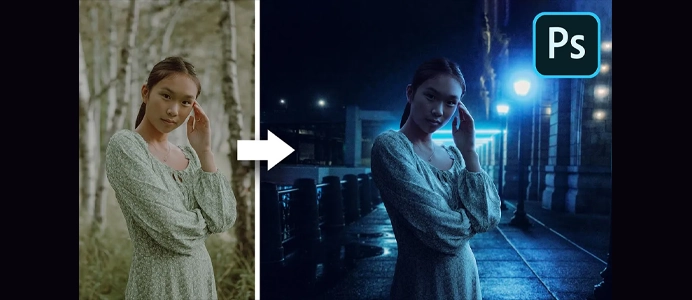
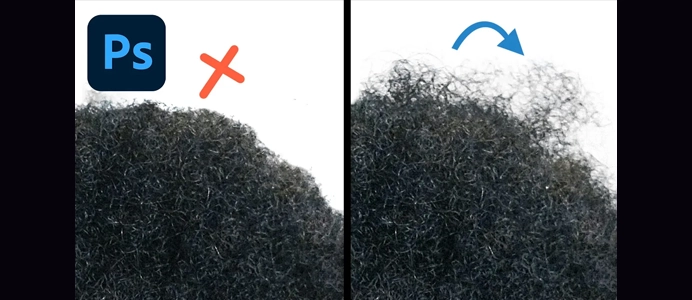
Manipulating images in Photoshop involves a variety of techniques to alter, enhance, or combine elements within an image. Here’s a general guide on how to manipulate images:
1. Open an Image:
- Launch Photoshop and open the image you want to manipulate by selecting “File > Open.”
2. Duplicate the Background Layer:
- Right-click on the background layer in the Layers panel and choose “Duplicate Layer.” This ensures you have a copy to work on without affecting the original.
3. Cut, Copy, and Paste:
- Use selection tools (e.g., Marquee, Lasso) to cut, copy, and paste elements within the image or between images.
4. Transform and Resize:
- Select the layer you want to transform and press Ctrl+T (Windows) or Command+T (Mac) to enter Free Transform mode. Resize, rotate, or distort as needed.
5. Layer Masks:
- Add layer masks to selectively reveal or hide parts of a layer. Paint with black to hide and white to reveal.
6. Adjustment Layers:
- Utilize adjustment layers (e.g., Hue/Saturation, Levels, Curves) to make non-destructive changes to color, contrast, and other properties.
7. Filters and Effects:
- Experiment with filters (e.g., Blur, Sharpen, Distort) for various creative effects. Access them under the “Filter” menu.
8. Content-Aware Fill:
- Use the Content-Aware Fill feature (Edit > Content-Aware Fill) to remove or replace objects seamlessly.
9. Brush Tool:
- Use the Brush tool (B) to paint, erase, or apply effects to specific areas of the image. Adjust the brush settings for size, hardness, and opacity.
10. Clone Stamp Tool:
- Clone parts of the image using the Clone Stamp tool (S) to duplicate textures and patterns.
11. Pen Tool:
- Master the Pen tool (P) for precise selections and paths. This is useful for cutting out objects or creating shapes.
12. Adjust Perspective:
- Use the Perspective Crop tool or the Transform command to adjust the perspective of elements within the image.
13. Smart Objects:
- Convert layers to Smart Objects for non-destructive scaling and transformations.
14. Selective Color Changes:
- Select specific areas using selection tools and apply adjustments to change colors selectively.
15. Text and Typography:
- Add text layers and apply various text effects. Experiment with blending modes for text layers.
16. Layer Styles:
- Apply layer styles (e.g., Drop Shadow, Gradient Overlay) to add effects to layers.
17. Save Versions:
- Save different versions of your manipulated image using “File > Save As” or “File > Save a Copy.”
18. Undo and History:
- Use the History panel (Window > History) to navigate through your edits. Use Ctrl+Z (Windows) or Command+Z (Mac) for quick undo.
19. Final Review:
- Zoom in and carefully review your manipulations. Make any necessary adjustments to ensure a natural and realistic look.
20. Save and Export:
- Save your work as a PSD file to preserve layers. When satisfied, export the final image in your desired format (e.g., JPEG, PNG).
These steps provide a general overview of image manipulation techniques in Photoshop. Remember to experiment with different tools and settings to achieve the desired effect for your specific image.


