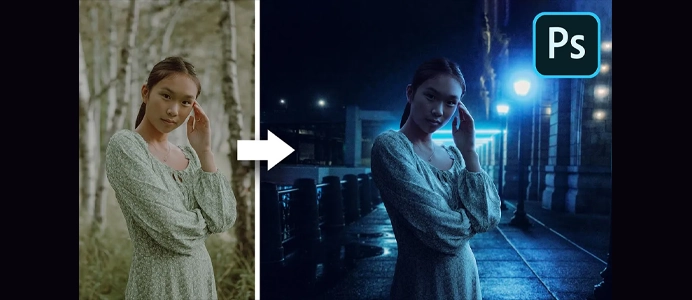
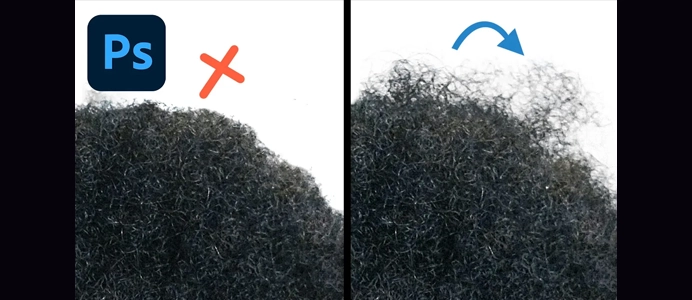
I Made the Craziest Edit in Photoshop!
Editing images in Photoshop involves a wide range of tools and features that allow you to enhance, retouch, and modify photographs. Below is a general guide on how to edit images in Photoshop:
1. Open an Image:
- Launch Photoshop and open the image you want to edit by selecting “File > Open.”
2. Duplicate the Background Layer:
- Right-click on the background layer in the Layers panel and choose “Duplicate Layer.” This ensures that you’re working on a non-destructive copy of the original image.
3. Basic Adjustments:
- Use the “Image > Adjustments” menu for basic adjustments like:
- Brightness/Contrast: Adjust overall brightness and contrast.
- Levels or Curves: Fine-tune tonal range and contrast.
- Hue/Saturation: Modify color intensity.
4. Crop and Resize:
- Use the Crop tool (C) to crop the image. Adjust canvas size under “Image > Canvas Size” or resize under “Image > Image Size” as needed.
5. Retouching and Healing:
- Spot Healing Brush (J): Remove small imperfections or blemishes.
- Clone Stamp (S): Duplicate one part of the image to cover flaws.
- Healing Brush (J): Blend textures for larger areas.
6. Selective Adjustments:
- Use selection tools (e.g., Marquee, Lasso, Quick Selection) to isolate specific areas for adjustments.
- Apply adjustments using adjustment layers for non-destructive editing.
7. Filters:
- Experiment with filters under “Filter” menu for creative effects.
- Common filters include Blur, Sharpen, and Distort.
8. Layer Styles:
- Apply layer styles such as Drop Shadow, Inner Shadow, or Stroke to add effects to layers.
9. Text and Typography:
- Use the Text tool (T) to add text layers.
- Experiment with fonts, sizes, and styles.
10. Color Grading:
- Utilize color grading techniques:
- Apply a Color Lookup adjustment layer.
- Adjust color balance using “Image > Adjustments.”
11. Layers and Masks:
- Familiarize yourself with layers and masks for non-destructive editing.
- Layer masks allow selective visibility within layers.
12. Save and Export:
- Save your work as a PSD file to preserve layers.
- Export the final image as JPEG, PNG, or another format as needed.
13. Undo and History:
- Use the History panel (Window > History) to navigate through your edits.
- Use Ctrl+Z (Windows) or Command+Z (Mac) for quick undo.
14. Brush Tool:
- Experiment with the Brush tool (B) for painting or adjusting specific areas.
- Adjust brush opacity and flow for more control.
15. Smart Objects:
- Convert layers to Smart Objects for non-destructive scaling and transformations.
16. Save Versions:
- Save different versions of your work by using “File > Save As” or “File > Save a Copy.”
17. Final Review:
- Zoom in and review your edits. Ensure the image looks good at various zoom levels.
Remember that Photoshop is a powerful tool with numerous features, so the specific steps may vary based on your editing goals. Practice and experimentation will help you become more proficient in editing images in Photoshop.


