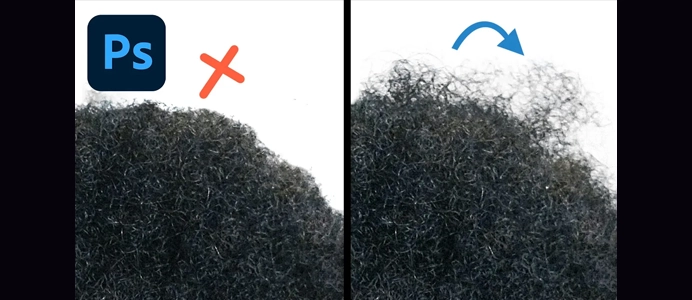
How to create Selections in Photoshop for Beginners
Selections in Photoshop allow you to isolate and manipulate specific areas of an image. They are fundamental for various editing tasks, such as applying adjustments, retouching, or moving elements. Here’s a guide on how to use selections in Photoshop:
1. Selection Tools:
- Familiarize yourself with the selection tools located in the toolbar. Common tools include:
- Marquee Tools (M): Rectangular and Elliptical selection.
- Lasso Tools (L): Freeform and Polygonal selection.
- Magic Wand (W): Selects areas based on color similarity.
- Quick Selection (W): Automatically selects similar tones and textures.
2. Make a Selection:
- Choose a selection tool and use it to draw around the area you want to select. For example:
- Marquee Tools: Click and drag to create a rectangle or ellipse.
- Lasso Tools: Click and drag for freeform, or click to create straight-line segments for polygonal.
- Magic Wand: Click on a color, and it will select adjacent pixels with similar colors.
- Quick Selection: Click and drag to automatically select similar areas.
3. Refine Selection:
- After making a selection, refine it using options like:
- Feather: Softens the edges of the selection.
- Expand/Shrink Selection: Increase or decrease the selection size.
- Refine Edge/Select and Mask: Access advanced options for refining edges and selecting complex areas.
4. Add to or Subtract from Selection:
- Hold down the
Shiftkey to add to the current selection. - Hold down the
Alt(Windows) orOption(Mac) key to subtract from the current selection.
5. Intersect Selections:
- To keep only the overlapping area of multiple selections, hold down
Shift + Alt(Windows) orShift + Option(Mac) while making selections.
6. Save and Load Selections:
- After making a selection, save it for future use:
- Select > Save Selection: Save the selection as an alpha channel.
- Select > Load Selection: Load a saved selection.
7. Selecting by Color Range:
- Go to
Select > Color Rangeto select pixels based on their color. Adjust the Fuzziness slider for more or less color variation.
8. Inverse Selection:
Ctrl + Shift + I(Windows) orCommand + Shift + I(Mac) inverts the selection, selecting everything except the originally selected area.
9. Quick Mask Mode:
- Press
Qto enter Quick Mask mode, where you can use brushes to paint selections. PressQagain to exit and see the selection.
10. Feather Selection:
- After making a selection, go to
Select > Modify > Featherto soften the edges.
11. Copy and Paste Selection:
Ctrl + C(Windows) orCommand + C(Mac) to copy the selection, andCtrl + V(Windows) orCommand + V(Mac) to paste it as a new layer.
12. Content-Aware Fill:
- After making a selection, go to
Edit > Content-Aware Fillto fill the selected area intelligently.
13. Transform Selection:
Ctrl + T(Windows) orCommand + T(Mac) to enter Free Transform mode and resize, rotate, or distort the selection.
14. Deselect:
Ctrl + D(Windows) orCommand + D(Mac) to deselect the current selection.
Selections are a fundamental aspect of Photoshop, and mastering them is essential for various image editing tasks. Practice using different selection tools and refining techniques to become proficient in isolating and manipulating specific areas in your images.


