The Making of a Fantasy Photo-Manipulation using Stock Images
Creating a fantasy photo using Photoshop involves combining various elements, applying digital manipulation techniques, and using creative effects to transform an ordinary image into a magical or otherworldly scene. Here’s a step-by-step guide on how to make a fantasy photo:
1. Conceptualize Your Fantasy Scene:
- Determine the theme or concept for your fantasy photo. Consider elements like magical landscapes, mythical creatures, or enchanted characters.
2. Collect Resources:
- Gather images that fit your concept. This may include background images, characters, props, and any other elements you want to include.
3. Create a New Document:
- Open Photoshop and create a new document with dimensions suitable for your project.
4. Add Background:
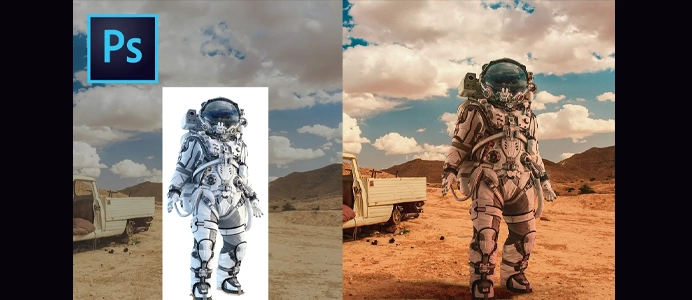
- Place a background image as the base of your fantasy scene. Adjust the size and position to fit your canvas.
5. Add Fantasy Elements:
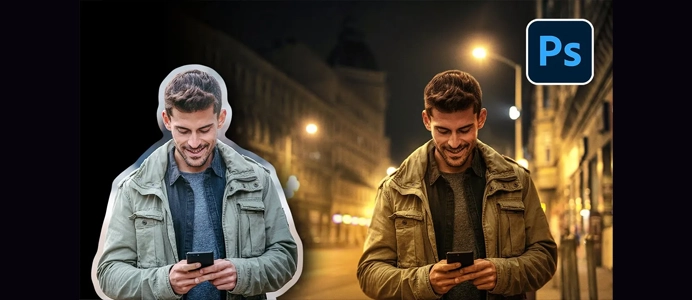
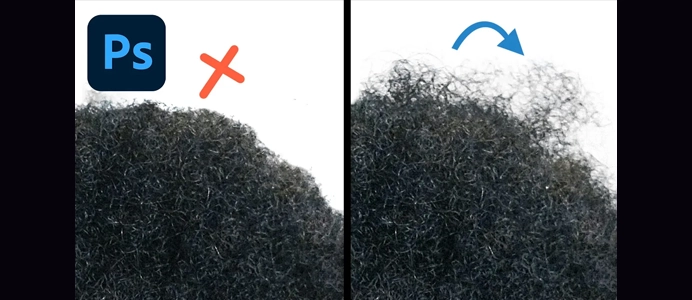
- Import and place images of characters, creatures, or objects to build your fantasy scene. Use selection tools and masks for precise placement.
6. Blend Elements:
- Ensure that the added elements blend seamlessly with the background. Adjust opacity, use layer masks, and experiment with blending modes to achieve a cohesive look.
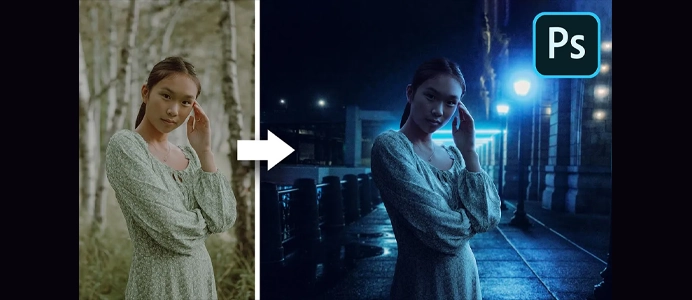
7. Color Grading:
- Apply color grading to create a unified color scheme. Use adjustment layers such as Color Balance, Hue/Saturation, and Curves to modify the colors and tones.
8. Add Lighting Effects:
- Enhance the fantasy atmosphere by adding lighting effects. Use soft brushes with a low opacity to paint light and shadows on separate layers.
9. Create Atmosphere and Depth:
- Introduce atmospheric effects like fog, mist, or magical glows to add depth and atmosphere to your fantasy scene.
10. Apply Filters and Textures:
- Experiment with filters and textures to achieve specific looks. Try adding a subtle grain or applying artistic filters to enhance the fantasy vibe.
11. Add Details:
- Zoom in and add details to your fantasy elements. Use brushes and adjustment layers to refine facial features, clothing textures, and other intricate details.
12. Fine-Tune Composition:
- Review the overall composition of your fantasy photo. Make adjustments to the placement of elements and ensure a balanced and visually appealing result.
13. Typography (Optional):
- If your fantasy photo includes text, use the Text tool to add titles, quotes, or other textual elements. Experiment with fonts and styles that complement the fantasy theme.
14. Final Adjustments:
- Make final adjustments using various tools and filters. Ensure that the colors, contrasts, and overall mood align with your vision.
15. Save and Export:
- Save your work and export the final fantasy photo in your desired format. Consider saving a version with layers (PSD) for future edits.
16. Share and Showcase:
- Share your fantasy photo on social media, art platforms, or in your portfolio. Consider getting feedback to improve your skills for future projects.
Creating a fantasy photo in Photoshop is a creative process that allows you to let your imagination run wild. Experiment with different techniques, and don’t be afraid to try new ideas to bring your fantasy vision to life.


