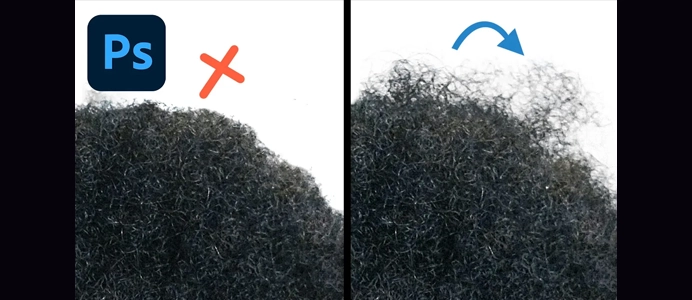
How to Remove White Background from Logo & Vectorize it!
How to Remove White Background from Logo & Vectorize it! Removing the white background from a logo and vectorizing it in Photoshop involves a combination of selection tools, layer masks, and creating paths. While true vectorization is typically done in vector software like Adobe Illustrator, you can create a vector-like version in Photoshop. Here’s a step-by-step guide:
Removing White Background:
- Open the Logo in Photoshop:
- Launch Photoshop and open the image with the logo and the white background.
- Select the Magic Wand Tool:
- Choose the Magic Wand tool from the toolbar.
- Adjust Tolerance:
- In the options bar, set the Tolerance to a value that allows the Magic Wand to select the white background. Start with a low value (e.g., 20) and adjust as needed.
- Select the White Background:
- Click on the white background with the Magic Wand tool. Hold down the Shift key and click in multiple areas to select all the white pixels.
- Invert the Selection:
- Go to
Select > Inverseto invert the selection. Now, the logo is selected, not the background.
- Go to
- Delete the Background:
- Press the Delete key to remove the white background.
- Refine Edges (Optional):
- If the logo has fine details or jagged edges, use
Select > Refine Edgeto smooth out the edges. Adjust settings like Smooth, Feather, and Contrast.
- If the logo has fine details or jagged edges, use
- Add a New Background Layer (Optional):
- If you want to preview the logo without a background, add a new layer below the logo layer and fill it with a color.
Vectorizing (Creating Paths):
- Convert to Smart Object (Optional):
- Right-click on the logo layer and choose “Convert to Smart Object.” This allows for non-destructive editing.
- Create Paths with the Pen Tool:
- Select the Pen Tool (P) from the toolbar.
- Create Paths Around the Logo:
- Use the Pen Tool to create paths along the edges of the logo. Click to create anchor points and drag to create curves.
- Complete the Path:
- Close the path by connecting the last anchor point to the first one.
- Adjust Path if Needed:
- Use the Direct Selection Tool (A) to adjust the position of anchor points and handles for precise control.
- Convert Paths to Selection:
- Right-click on the path and choose “Make Selection.” Adjust the Feather Radius if needed.
Save as Vector-like Image:
- Export as PNG:
- Save the image with a transparent background by exporting it as a PNG file. Go to
File > Export > Export Asand choose PNG as the format.
- Save the image with a transparent background by exporting it as a PNG file. Go to
- Maintain Transparency:
- Ensure that the “Transparency” option is selected during export to maintain the transparency of the background.
Tips:
- Zoom In for Precision:
- Zoom in while using the Pen Tool for precise path creation.
- Experiment with Tolerance:
- Adjust the Tolerance of the Magic Wand tool to achieve the best selection.
- Non-Destructive Editing:
- Use Smart Objects to maintain flexibility in your editing process.
While Photoshop is not a dedicated vector editing tool like Illustrator, these steps allow you to create a logo with a transparent background and paths for a vector-like appearance. For true vectorization, consider using Adobe Illustrator.


